
How to use Issue Templates Pro - Update
1. Overview
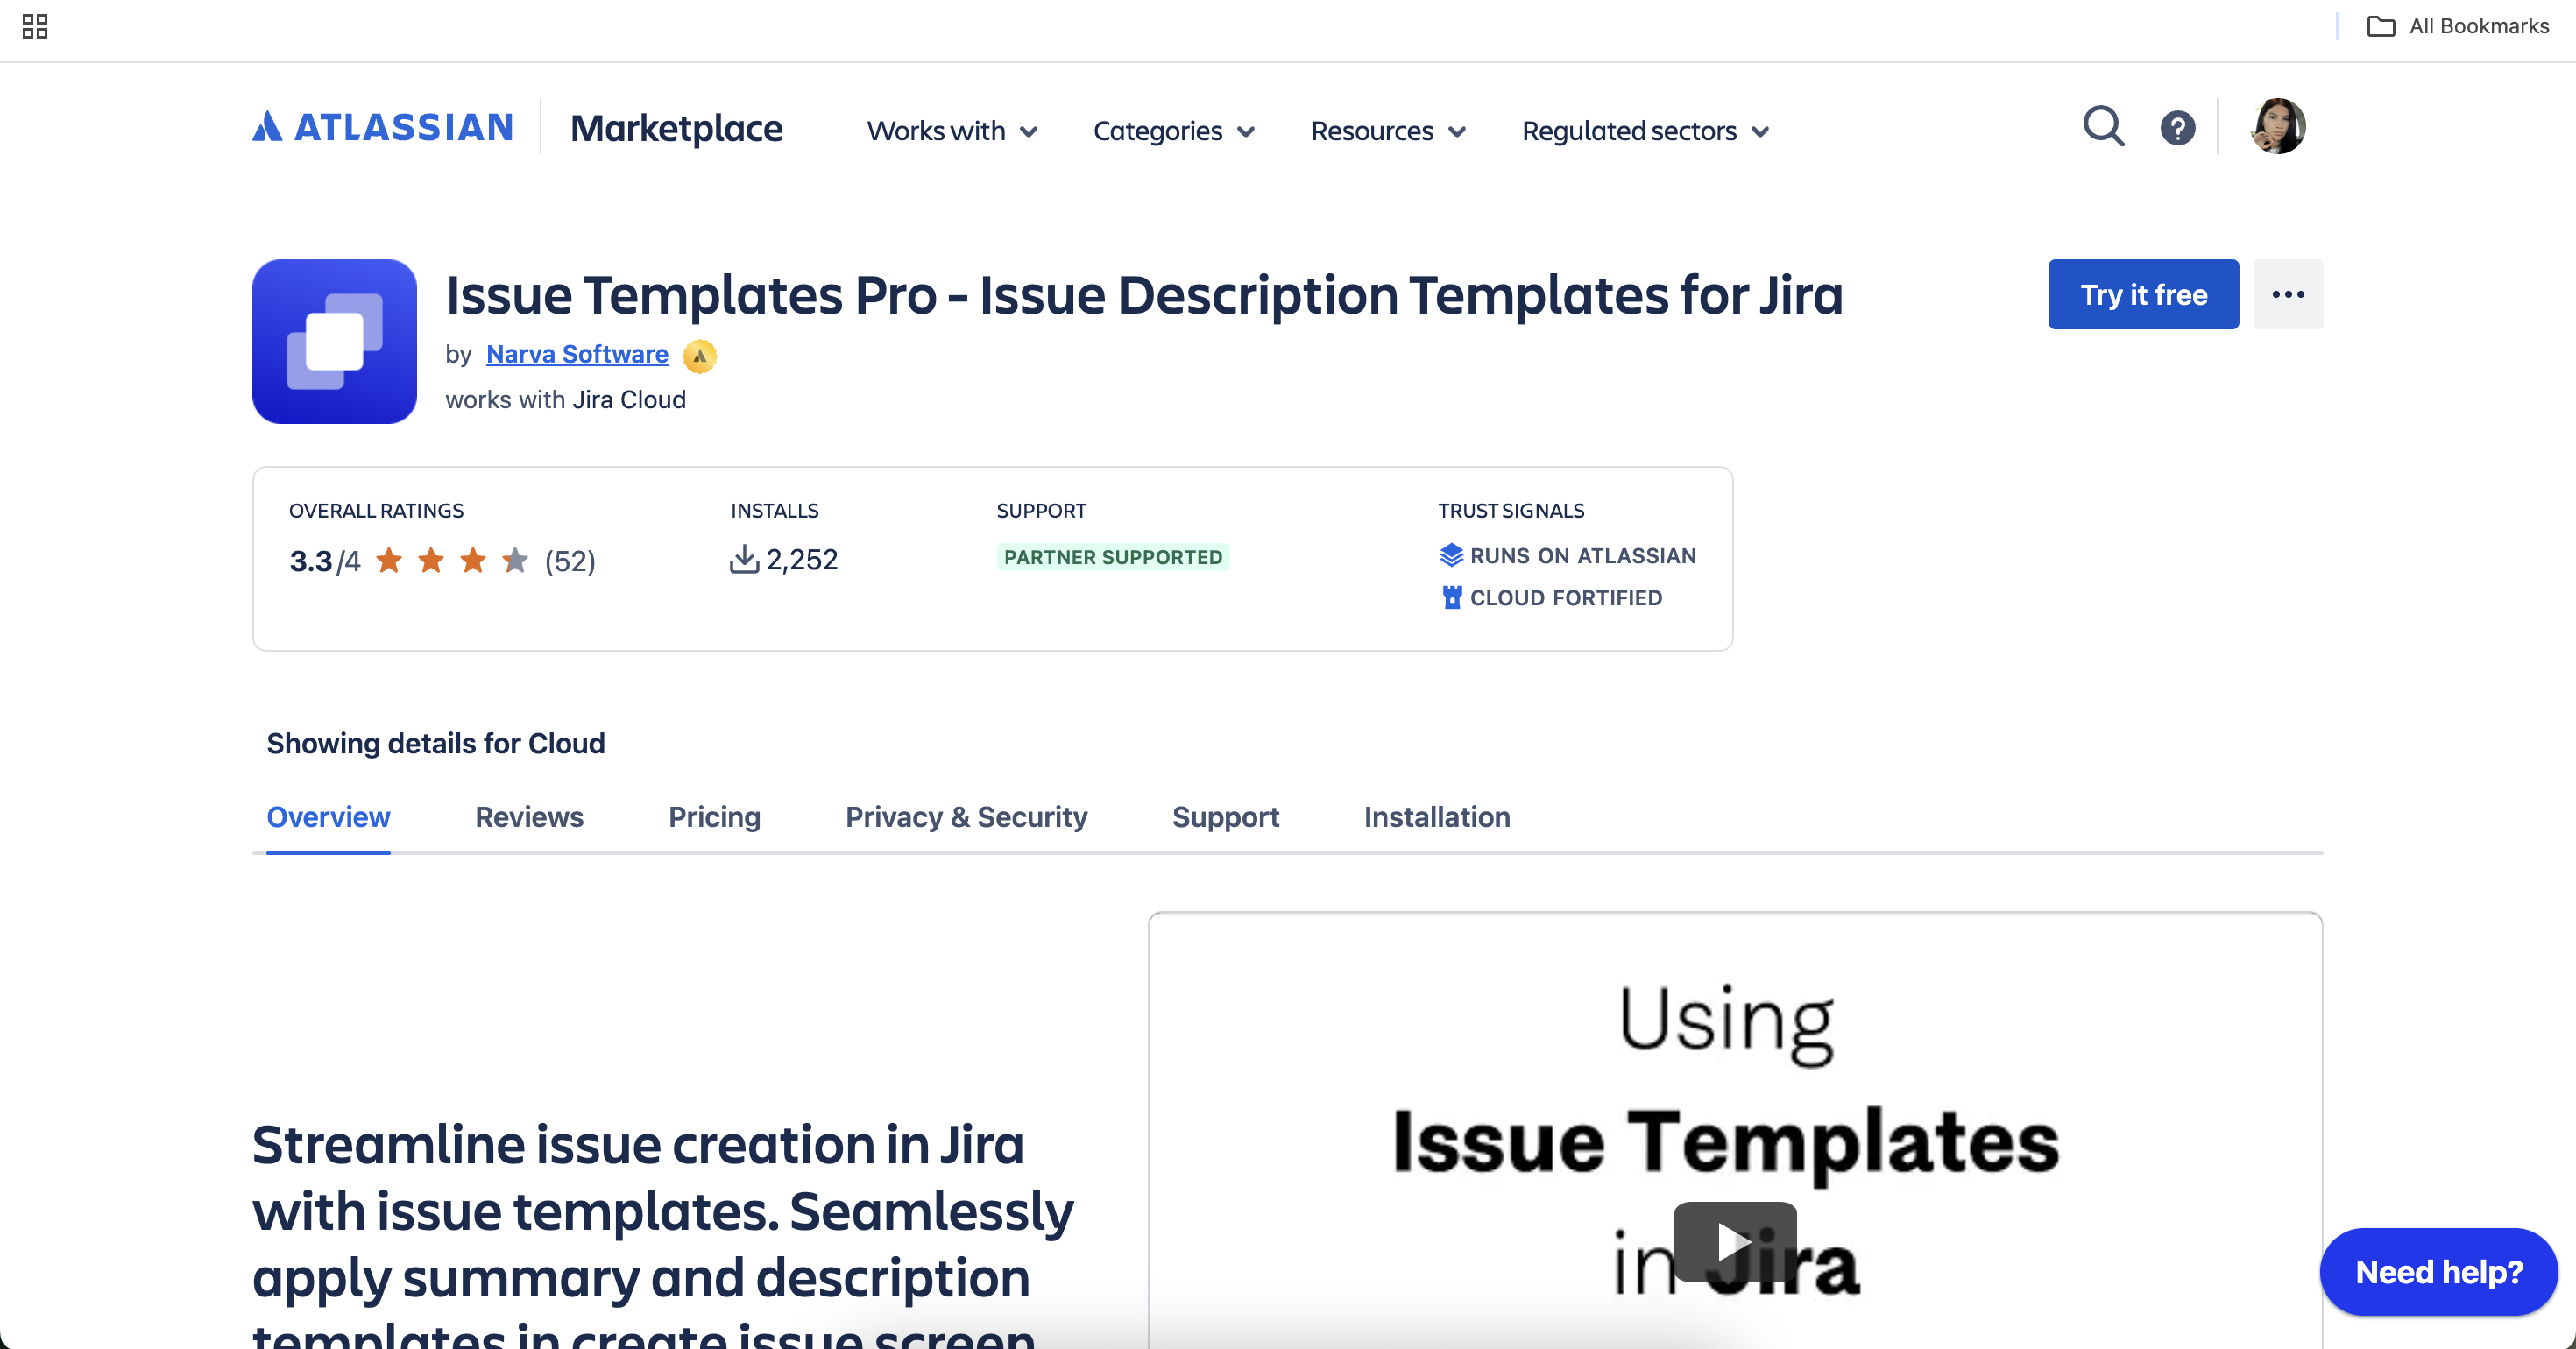
Issue Templates Pro helps your team save time and standardize Jira issues with reusable templates for summaries and descriptions.
Key Benefits:
Apply templates directly on the “Create Issue” screen
No scripting or complex setup required
Share templates across multiple projects
Secure, cloud-native (Atlassian Forge) app
2. Installation & Setup
Install from Atlassian Marketplace
Click Try it free or Get it now.
Follow the prompts to install the app on your Jira Cloud instance.
Initial Configuration
Access the app via the Jira project sidebar or global settings.
No additional setup is required to start creating templates.
3. Permissions & Access
Project Administrators can create, edit, and assign templates.
Jira Administrators have full access to all templates and settings.
Users can apply templates when creating issues.
4. Creating and Managing Templates
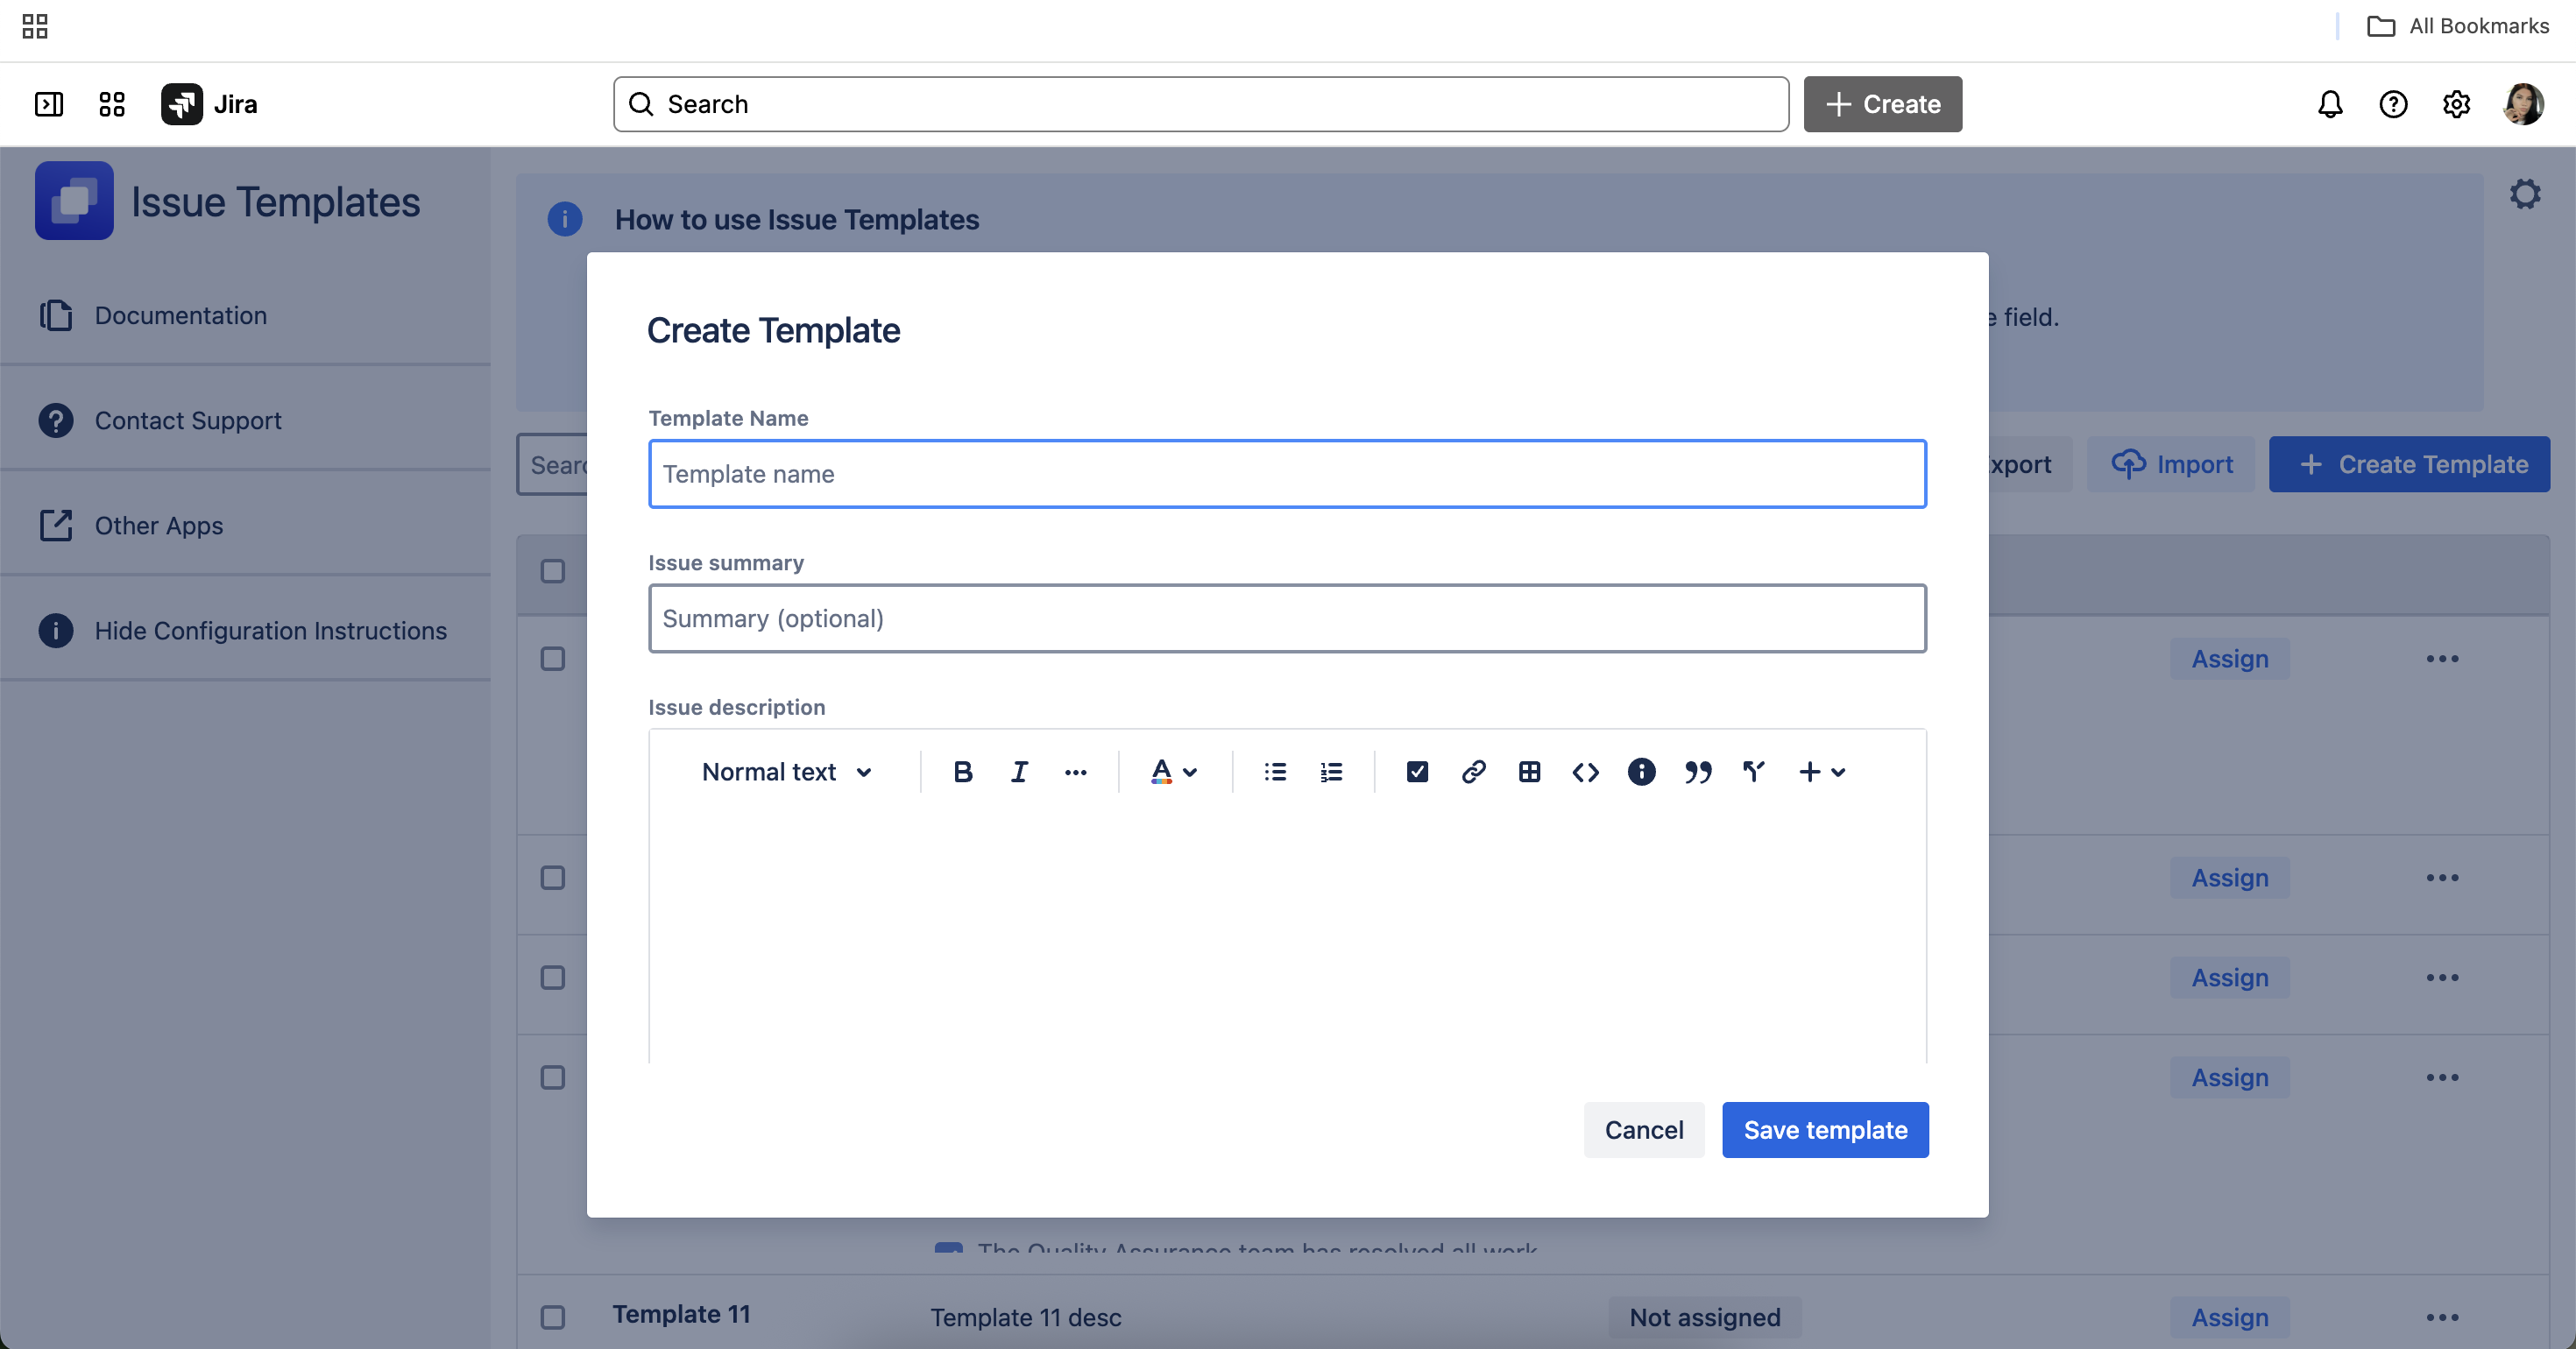
Create a New Template
Go to the Issue Templates Pro section in your Jira project.
Click Create Template.
Enter a name, select template type (Summary or Description), and add your content.
Click Save.
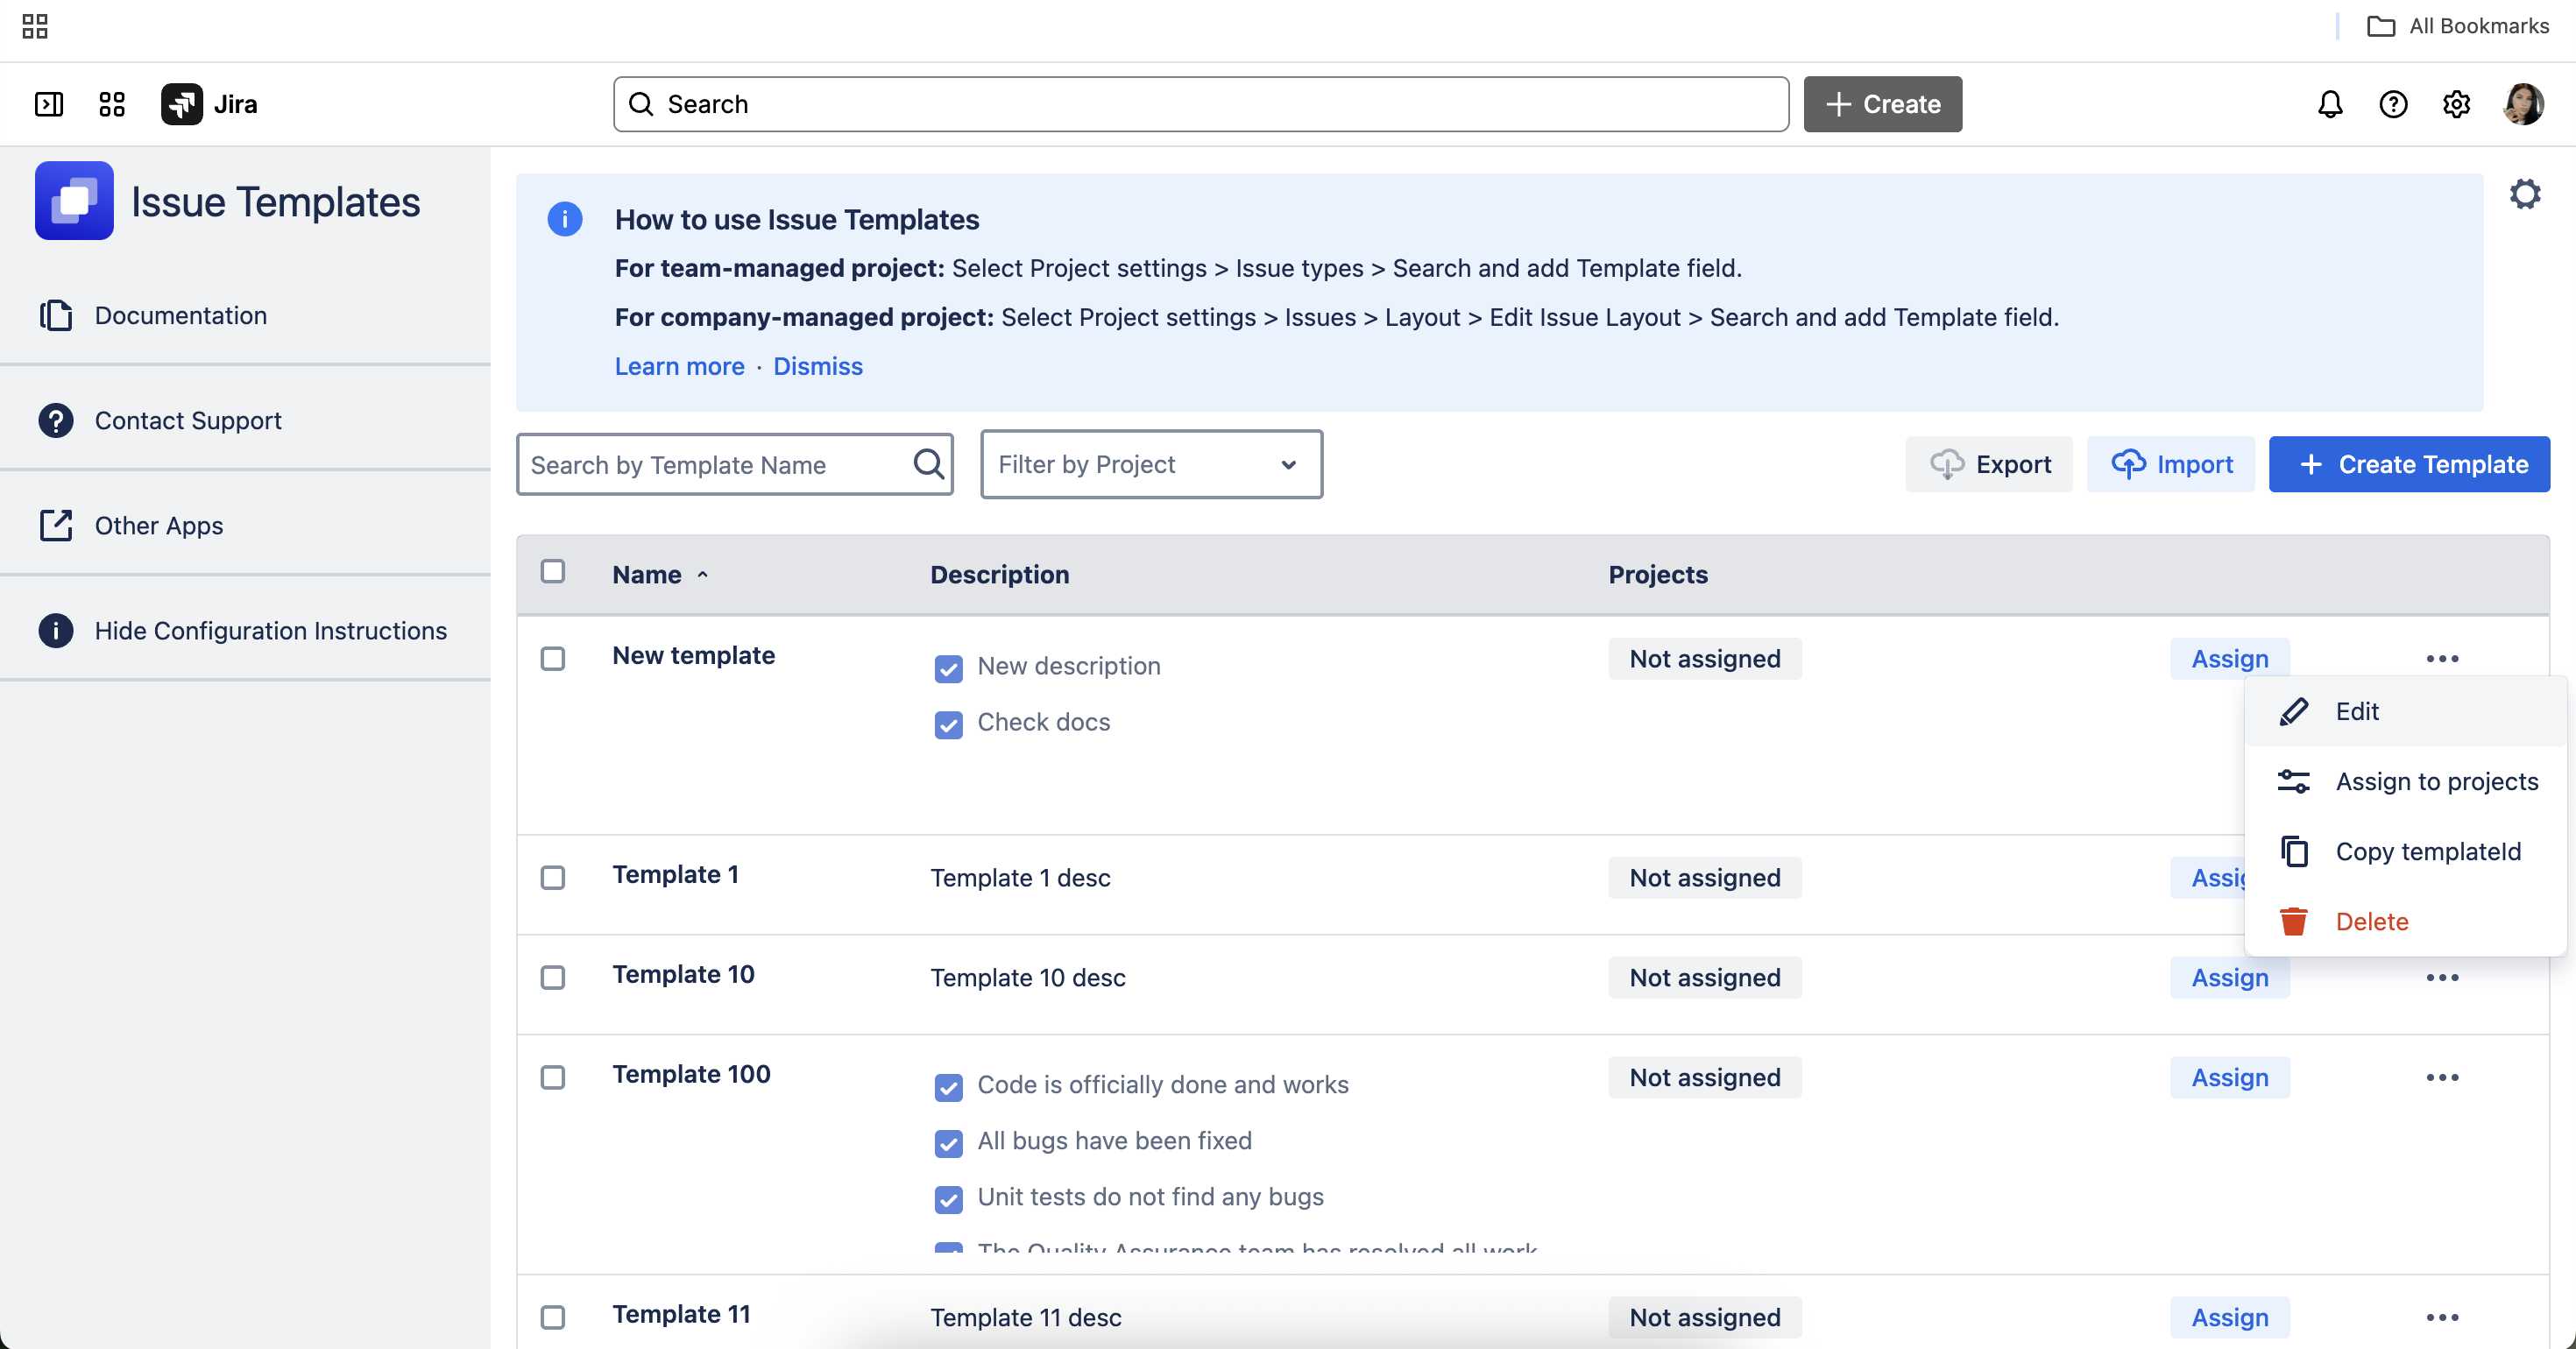
Edit or Delete a Template
Open the template list, select a template, and choose Edit or Delete.
Template Types
Summary Templates: Pre-fill the issue summary field.
Description Templates: Pre-fill the issue description field.
5. Applying Templates in Jira
On the “Create Issue” Screen
When creating a new issue, select a template from the dropdown to automatically fill in the summary and/or description.

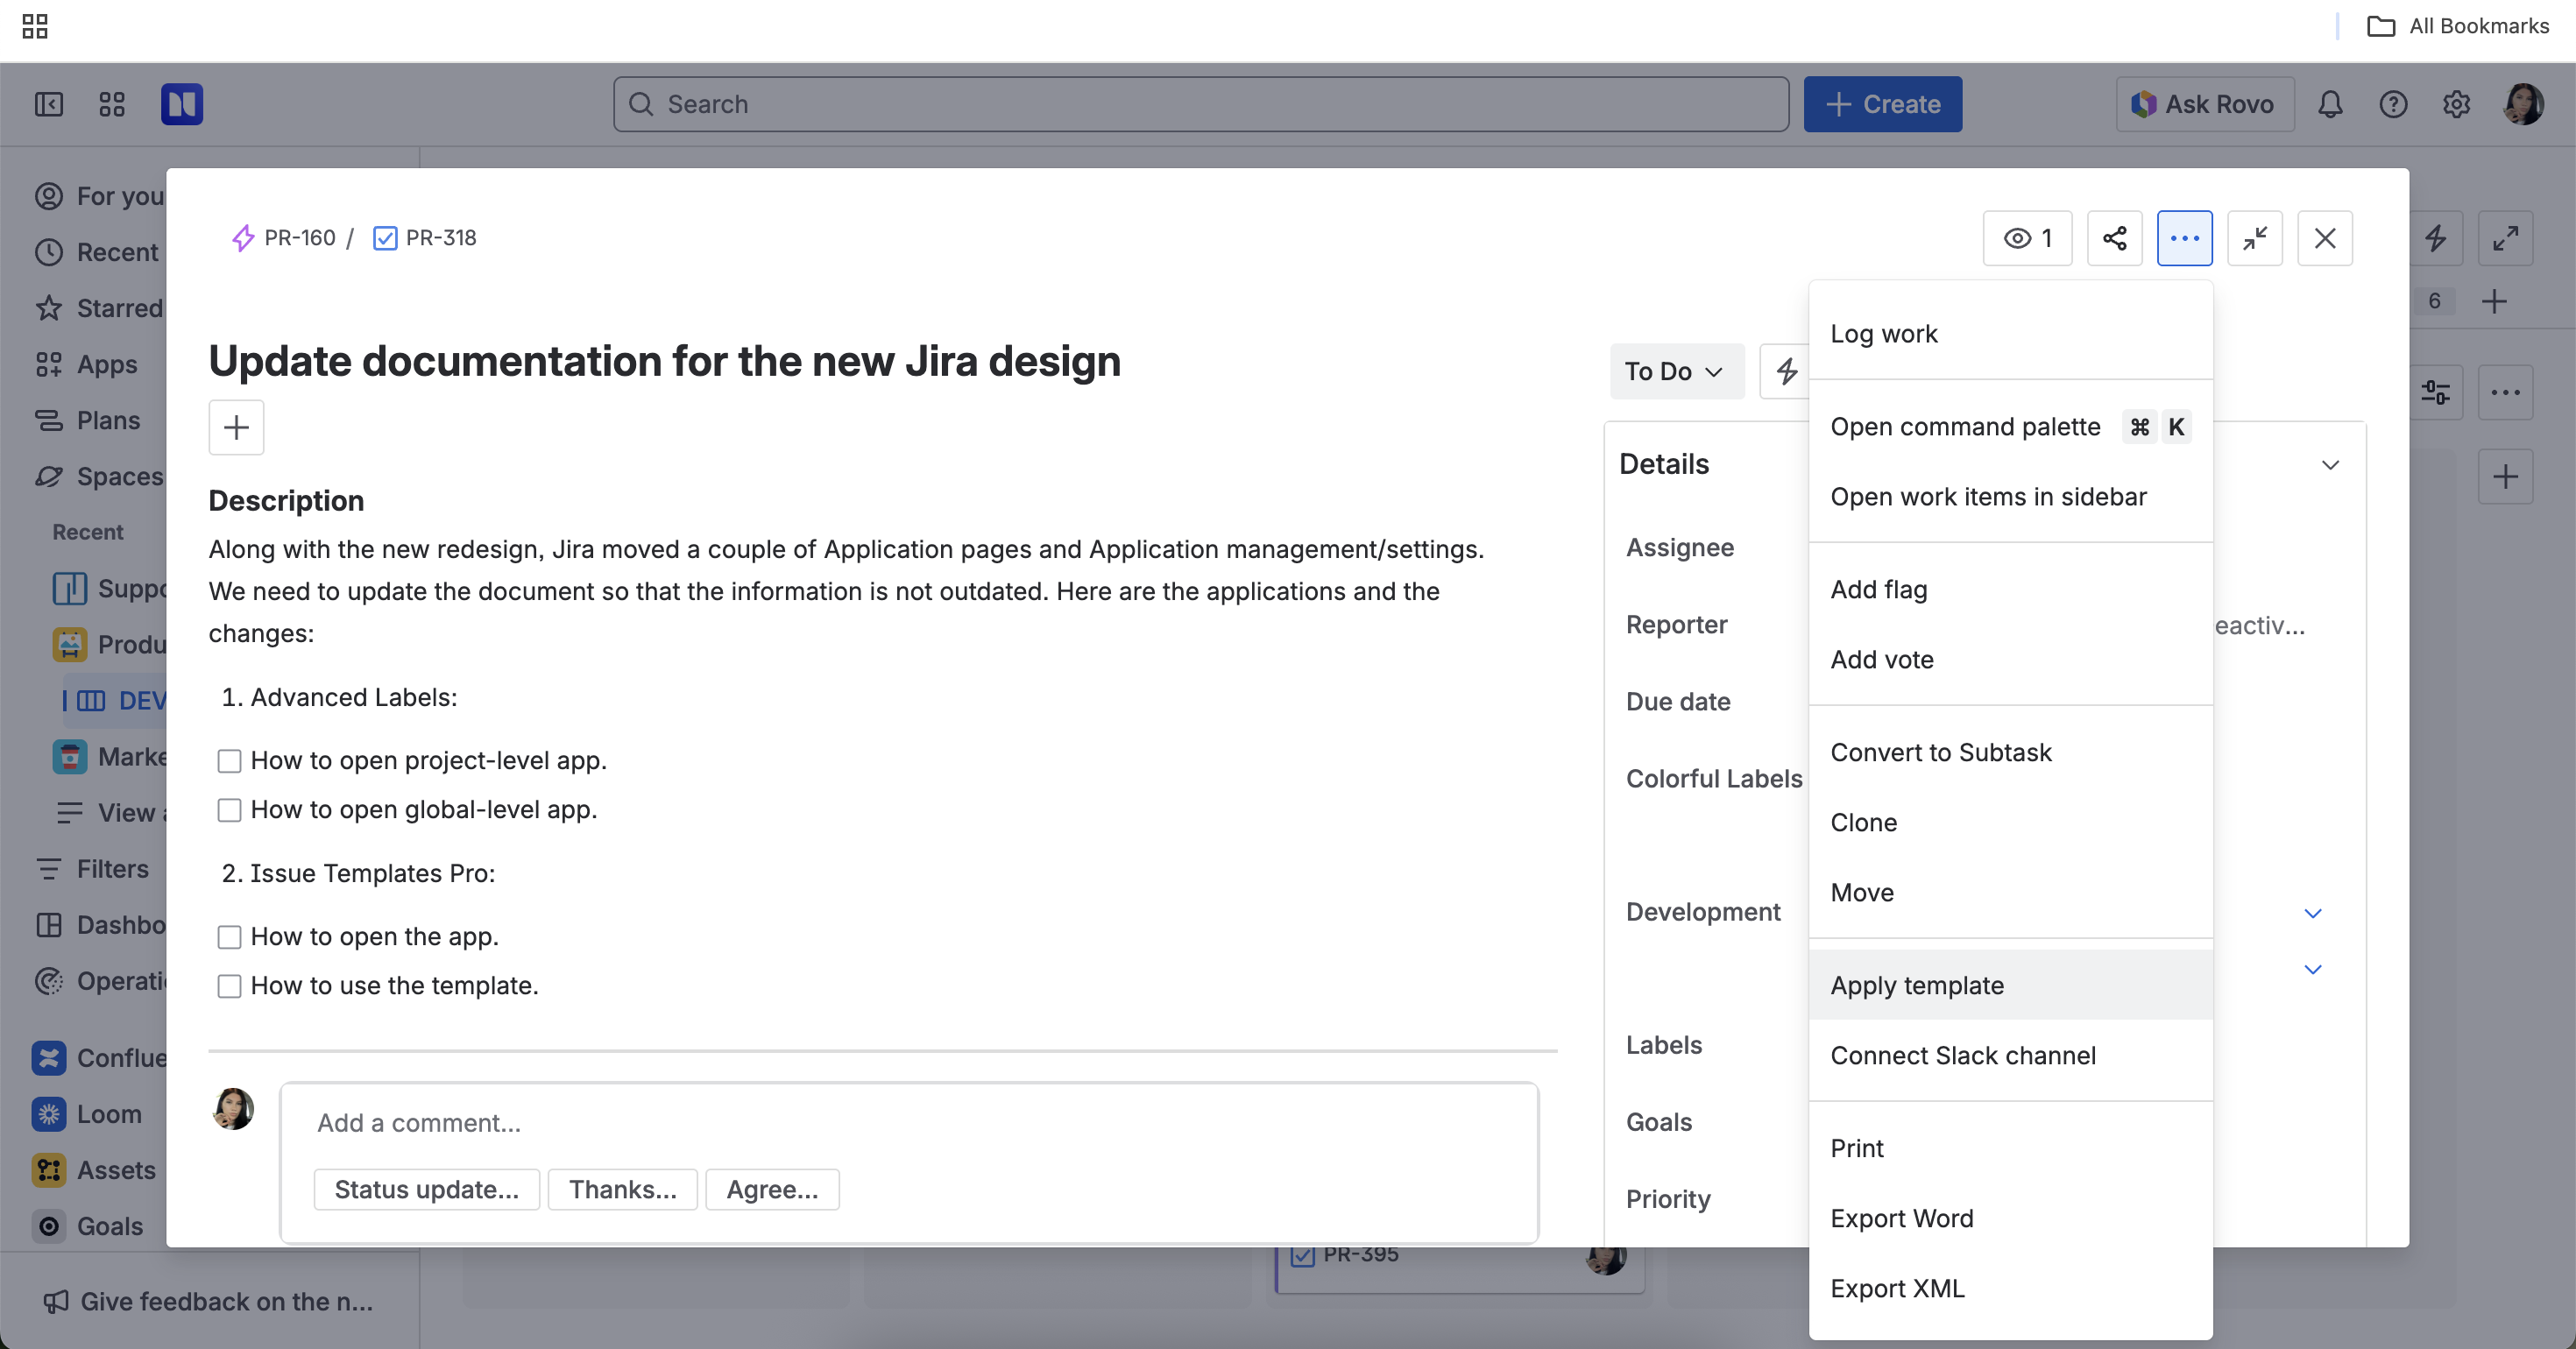
Applying Templates to Existing Issues
Open an existing issue.
Click the More actions (⋯) button.
Select Apply template.
Choose the desired template (note: this will overwrite the summary and description).
Using Templates with Jira Automation
Set up Jira Automation rules to apply templates based on triggers (e.g., issue type, project).
Reusing Templates Across Projects
Assign templates to multiple projects for consistent issue formatting.
6. Exporting and Importing Templates
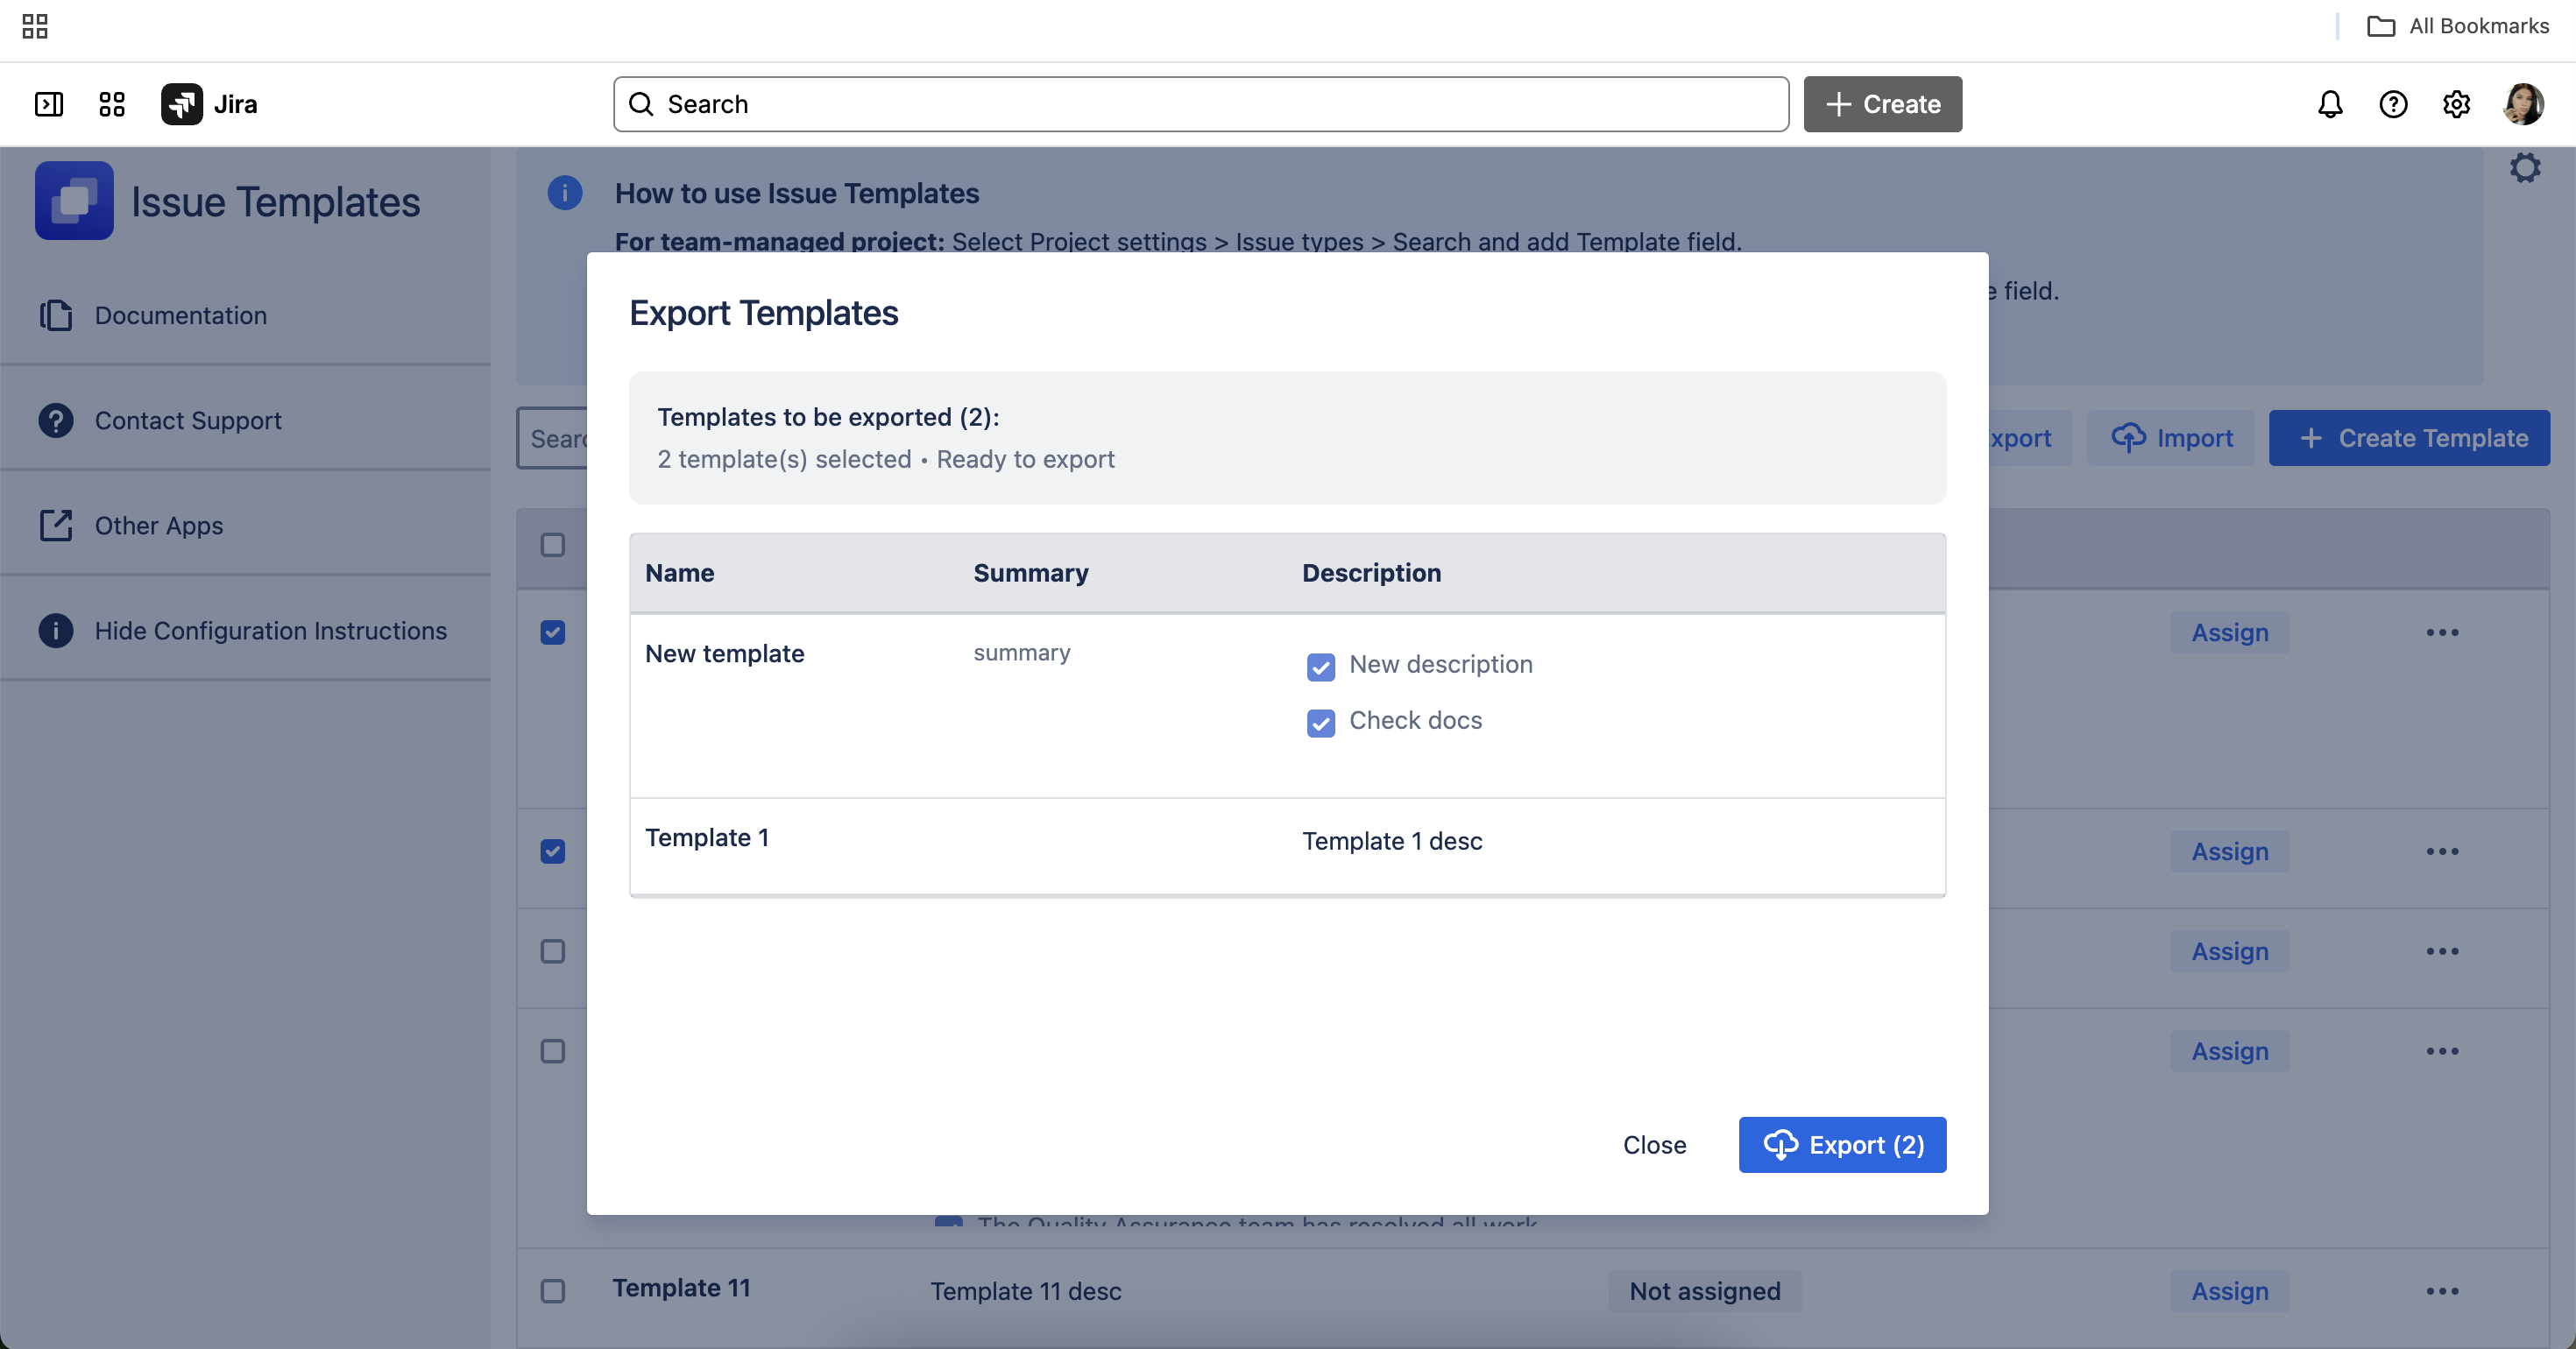
Exporting Templates
You can export your templates to a file for backup or to transfer them to another Jira instance.
How to Export Templates:
Navigate to the Issue Templates Pro section in your Jira project.
Click on the Export button or menu option.
Select the templates you wish to export (or choose “Export All”).
Download the exported file (usually in JSON or CSV format).
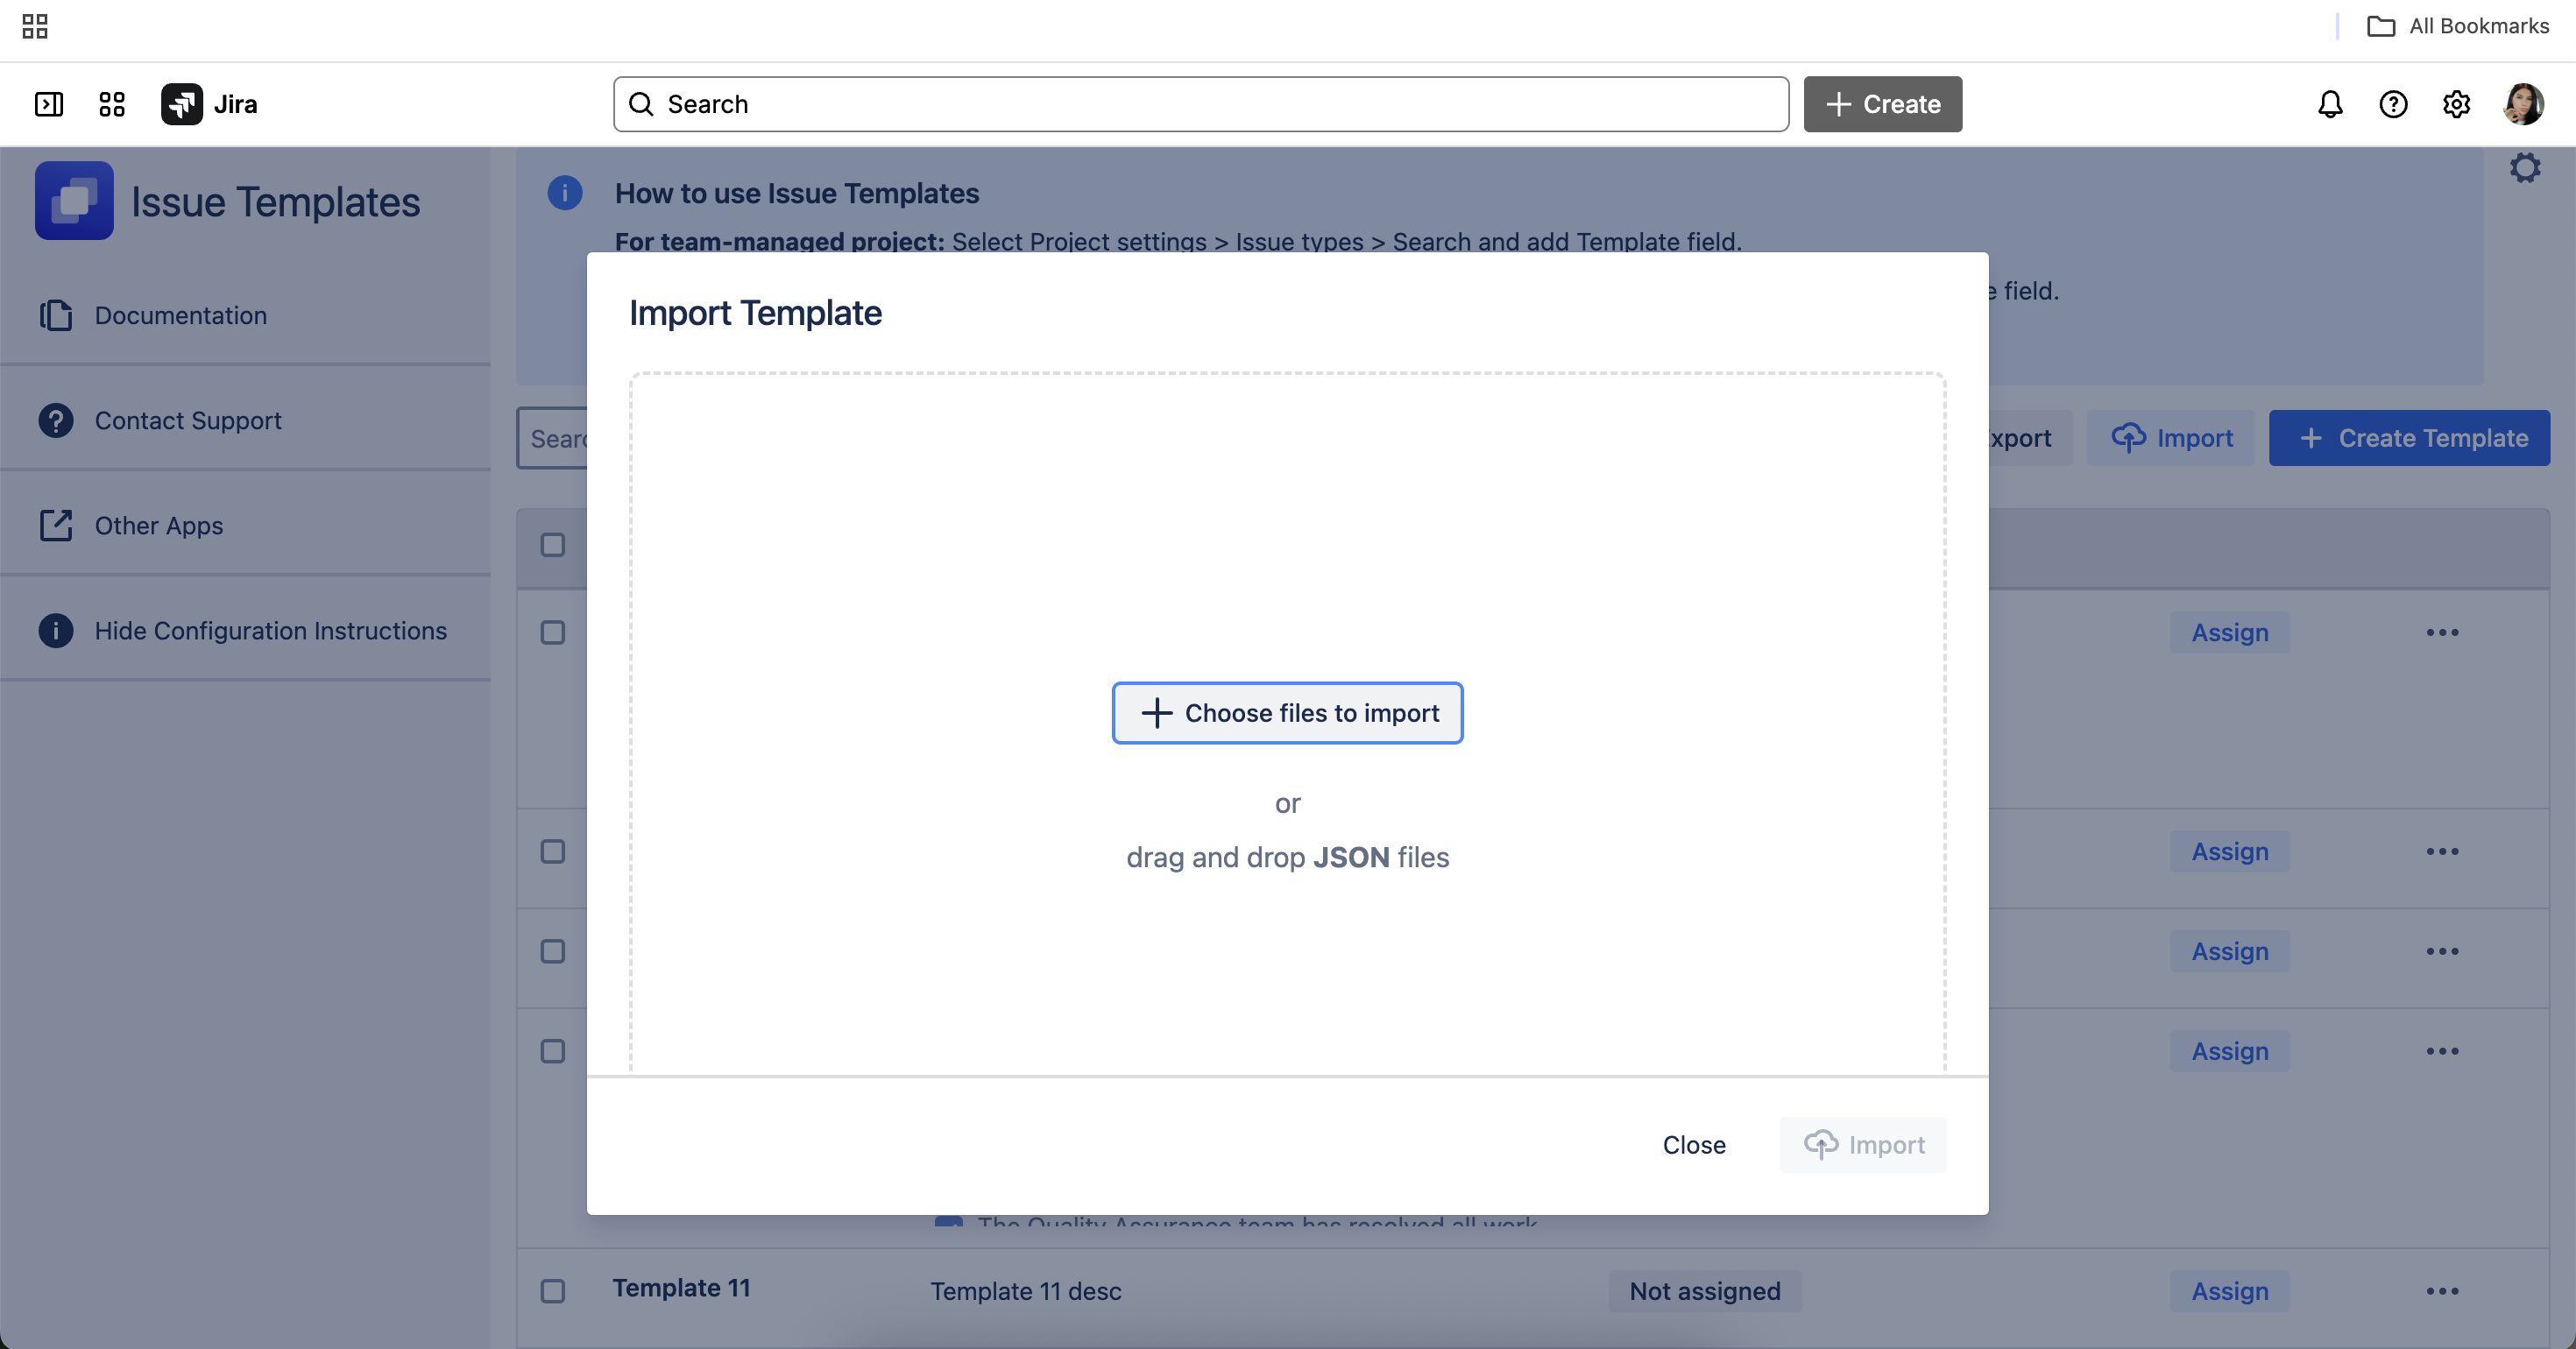
Importing Templates
Import templates from a file to quickly set up your templates in a new project or Jira instance.
How to Import Templates:
Go to the Issue Templates Pro table.
Click on the Import button or menu option.
Upload your previously exported file (JSON).
Review the templates to be imported and confirm the import.
Notes:
Imported templates will appear in your template list and can be assigned to projects/issue types as needed.
If a template with the same name exists, you may be prompted to overwrite or rename.
Troubleshooting Export/Import
File format errors: Ensure you are using a file exported from Issue Templates Pro.
Permission errors: Only project or Jira admins may have access to export/import features.
Duplicate templates: Review import summary for any conflicts.
Add this section to your Confluence documentation after “Best Practices” or wherever it fits best in your structure.
Would you like me to update the full draft with this section included, or do you want just this as a standalone addition?
7. Advanced Features & Integrations
Integrations
Connect with external apps using Webhooks or REST API for advanced workflows.
Best Practices
Use templates for recurring issue types (e.g., bug reports, feature requests).
Regularly review and update templates to match your team’s needs.
8. Known Issues & Limitations
Templates may not apply automatically to subtasks. Apply manually after creation.
Templates may not trigger when creating issues from Epics. Set the “description” field as required to enable this.
Jira Service Management (JSM) is not supported yet.
Conflicts may occur with other apps (e.g., ScriptRunner Behaviours, Issue Templates Agent).
Bulk assignment and automation limitations may apply.
Templates must be manually assigned to new projects/issue types even if reusing configurations.
For a full list, see Known Issues and Limitations.
9. Troubleshooting & FAQ
Q: Templates don’t appear or apply. What should I check?
A:
Ensure you have the correct permissions.
Verify the app is enabled for your project.
Check for app conflicts and update to the latest version.
Q: Can I apply templates to existing issues?
A: Yes, via the “Apply template” action on the issue.
Q: Why aren’t templates applied to subtasks automatically?
A: Jira limitations prevent this; apply templates after subtask creation.
Q: Is Jira Service Management (JSM) supported?
A: Not yet, but it’s planned for a future release.
10. Best Practices
Assign templates to all relevant projects and issue types.
Keep templates organized and up to date.
Use descriptive names for templates.
Regularly review template usage and update as needed.