
You can embed OpenAPI specifications straight from your GitHub repositories to Confluence. An administrator connects GitHub once, and from then on anyone who can edit a page can pick a repository, a branch and a spec file — no tokens to copy, no files to upload, and no re-uploading when the spec changes.
Requirement
You need to be a Confluence administrator as well as a GitHub owner (admin). GitHub only lets owners create an app in an organization. Connecting a personal account needs no special role.
The app connects one GitHub account at a time per connection, but you can connect several accounts (for example, one organization and one personal account) if you need to.
Connect GitHub (administrator, once)
-
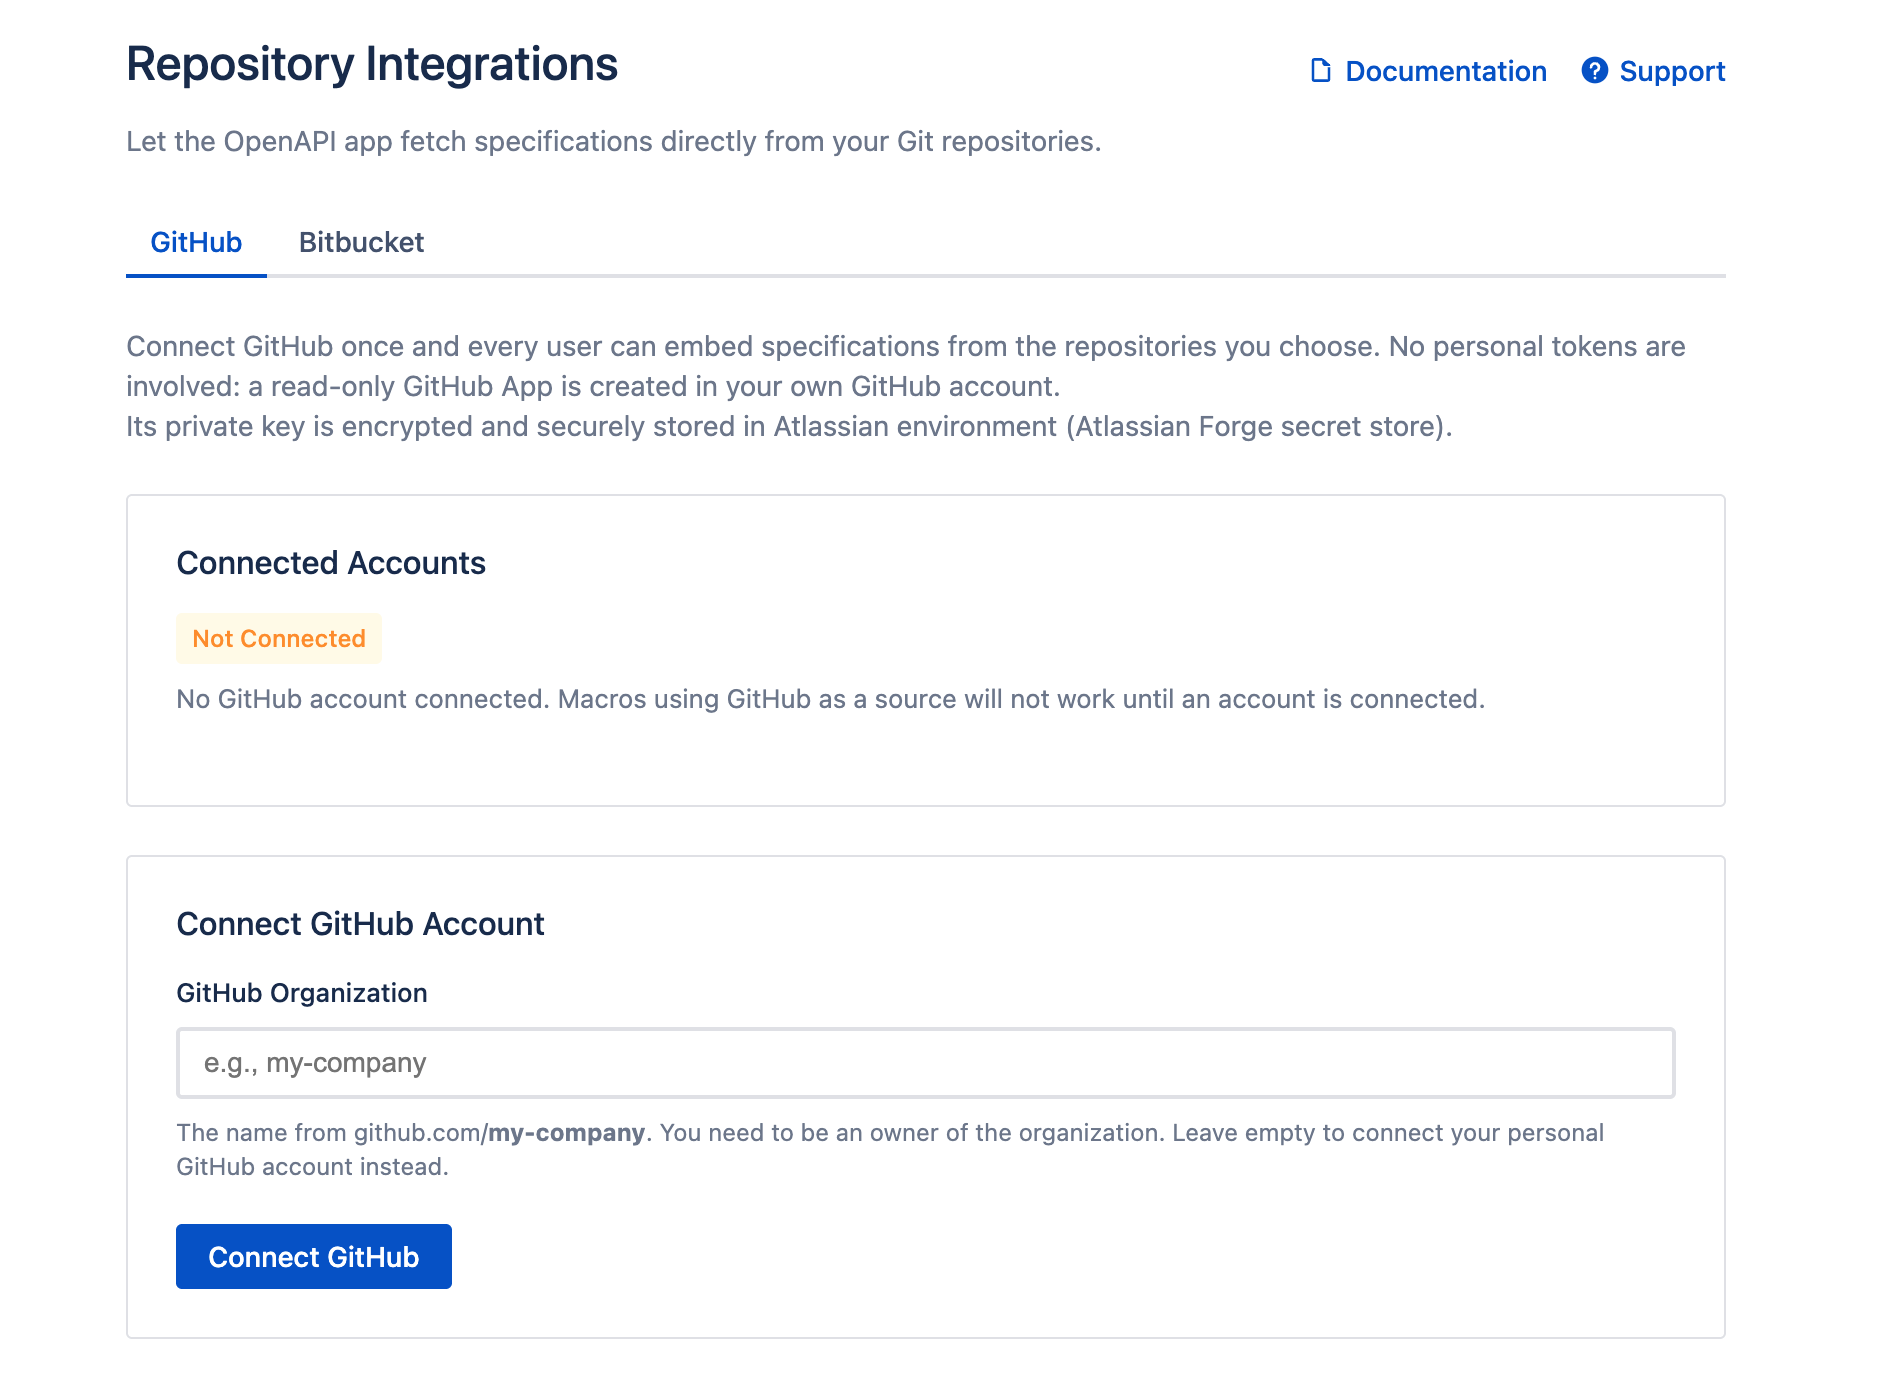
In Confluence, go to Settings → Apps → OpenAPI Git Integration, and open the GitHub tab.
-
In GitHub Organization, type the name exactly as it appears in your GitHub URL — for
github.com/my-company, typemy-company. Leave the field empty to connect your personal GitHub account instead. -
Click Connect GitHub. GitHub opens in a new tab with the app's name, description and permissions already filled in.
-
On GitHub, click Create GitHub App.
-
GitHub then asks which repositories the app may read. Choose All repositories or Only select repositories, and click Install.
-
Return to the Confluence tab. It refreshes by itself and shows the connected account — you don't need to reload it.
The connected account appears under Connected Accounts, together with whether it covers all repositories or only the ones you picked.
If GitHub shows a 404 page right after you create the app, wait a moment and reload it. GitHub sometimes needs a second to publish a brand-new app.
Visualize OpenAPI in Confluence pages
-
Edit a Confluence page and insert the OpenAPI - Swagger UI macro.
-
In the macro editor, choose GitHub as the source.
-
Fill in:
-
GitHub Account — only shown when more than one account is connected.
-
Repository — the list contains exactly the repositories the administrator gave the app access to.
-
Branch / Tag — a branch, tag or commit hash. Leave it empty to always follow the repository's default branch.
-
-
Click Browse Repository Files and navigate to your spec. Only
.json,.yamland.ymlfiles are listed, since only those can be an OpenAPI specification. -
Click Preview to check the rendering, then save the macro and the page.
Because the macro stores a reference to the file rather than a copy of it, the page follows the repository. Point the macro at a branch and readers always see that branch's current spec; point it at a tag or a commit hash to pin the page to a fixed version of your API.
How access and security work
The integration deliberately avoids personal access tokens. Instead:
-
A GitHub App is created in your own GitHub account. You own it, it appears in your GitHub settings, and you can change or delete it at any time without involving us.
-
It is read-only. The app requests only
contents: readandmetadata: read. It cannot push, open pull requests, change settings or read anything you did not grant it. -
It is private to your account and subscribes to no webhooks or events.
-
The app's private key is encrypted and held in the Atlassian Forge secret store, inside Atlassian's environment. Every request uses a short-lived installation token that GitHub expires after an hour.
-
Only specification files can be read. Requests for anything other than
.json,.yamlor.ymlare rejected by the app's backend, so the macro cannot be pointed at your source code. -
Administrative actions are restricted to the settings page. Connecting, refreshing and disconnecting can only be triggered from global app settings — never from a macro on a page.
Anyone who can view a page containing the macro can see the spec it renders, so treat a repository you connect as readable by that page's audience.
Managing the connection
Change which repositories are shared — go to Settings → Apps → OpenAPI - Repository Integrations → GitHub and click Manage repositories next to the account. You can also do it from GitHub directly, under the app's installation settings.
Disconnect an account — click Disconnect. This removes the connection and its stored credentials from Confluence, and macros that use it stop rendering. To finish, follow the link shown afterwards to delete the GitHub App on GitHub (Advanced → Delete) — Confluence cannot delete it for you.
Troubleshooting
"GitHub is not connected" in the macro editor No account has been connected yet, or the setup was never finished on GitHub. An administrator should complete the setup.
A repository is missing from the dropdown The GitHub App wasn't granted access to it. An administrator can add it with Manage repositories.
The app was created in the wrong account If you are not an owner of the organization, GitHub falls back to creating the app in your personal account, and it will only be able to read your repositories. Delete that app on GitHub, click Disconnect in Confluence, and ask an organization owner to run the setup.
"Installation requested" You are a member of the organization but not an owner, so GitHub can only record a request. An owner has to approve the installation, after which the settings page will pick it up.
"This setup link is invalid or has expired" Setup links are single-use and valid for 30 minutes. Go back to the settings page and click Connect GitHub again.
"GitHub rejected the app credentials"
The GitHub App was deleted or its credentials were revoked on GitHub. Disconnect in Confluence and connect again.
"GitHub denied the request"
Either the app lacks permission for that repository, or GitHub's API rate limit was reached. Wait a few minutes and try again.